Welcome to the blog

A string of thoughts, DIY, thrift scores, geeking out, sewing, crafting, and so on....

Welcome to the blog

A string of thoughts, DIY, thrift scores, geeking out, sewing, crafting, and so on...

Welcome to the blog

A string of thoughts, DIY, thrift scores, geeking out, sewing, crafting, and so on...

Welcome to the blog

A string of thoughts, DIY, thrift scores, geeking out, sewing, crafting, and so on...

Welcome to the blog

A string of thoughts, DIY, thrift scores, geeking out, sewing, crafting, and so on...

Wednesday, December 17, 2008

Just a heads up...

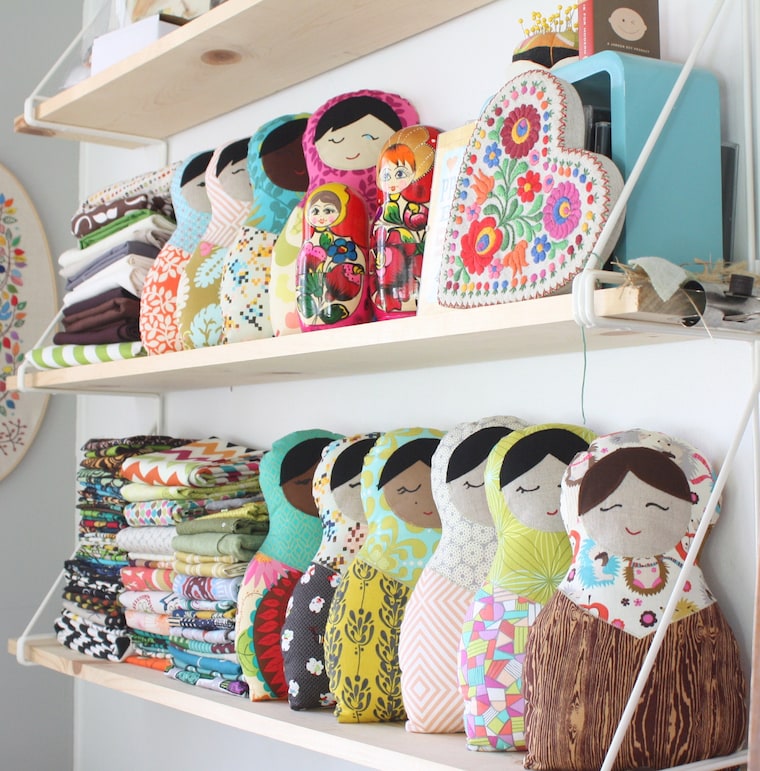
I will be posting more, i promise - the holidays are busy. I have some tutorials in store and other great etsy finds that I very much love. Im currently making a Needle Book to store my needles in - maybe I'll have a tutorial on that ! stay tuned!

Monday, December 8, 2008

Ultimate Handmade Holidays Tutorial List


Need some good handmade gift ideas? Not only that, but to make them yourself? I love the Sew Mama Sew blog and if you never heard of it, make sure to become very familiar with it - its amazing. They have the ultimate handmade holidays list of tutorials the likes ye have never seen! Some examples above!

Wednesday, December 3, 2008

DIY: Wall Decals

I was just thinking about wall decor when it dawned on me that you can create your own wall decals for the cost of one roll of CONTACT PAPER! You can get it in so many colors and faux textures. I got some vintage gold and yellow damask contact paper from an estate sale so I figured I'd give it a whirl. Heres all you do:

1. Draw out or trace your design. Silhouette's are the easiest! (One cute example is make sihouettes of your kids and put them up in their rooms.) but go for as complex as your able.

2. Roll out enough contact paper to fit your needs and draw or trace your design on the back side with a permanent marker. Remember it will be a mirrored image when your done, so numbers and letters will have to be drawn backwards.

3.When finished drawing it out, use an x-acto knife to cut out your design as neatly and crisply as you can.

4. Make sure all lines, curves and corners of the image are completely cut thru, and cut/pull of any excess paper clining to your image.

5. Wipe down the wall (or place your putting it) and let it dry completely.

6. Remove the paper backing and stick the design to desired surface. Smooth it out as needed.

7.Finito!

This is a really neat and easy DIY project that you can do to cover and / or decorate all bare or ugly surfaces! Walls, file cabinets, boxes, desks, mirrors, doors, shelves, and the list goes on.

Twitter Delicious Facebook Digg Stumbleupon Favorites More