I got this from the Martha website - its a fun project for those who have kids and would rather make them a toy instead of getting them a lead coated one from across the ocean. Enjoy!
Make these adorable baby blocks for your child, and they'll be the coolest kid on the block.
Tools and Materials3 1/4-inch square wood block
Sandpaper
Scissors
Acrylic paint
Mod Podge
Paintbrush
Decorative paper
Emery board
Letters, numbers, and embellishments
Sponge
Baby Wooden Blocks How To
1. Sand the wooden block with sandpaper to prepare it for painting.
2. Paint the block with the color you've selected. Allow to dry.
3. Cut 6 pieces of decorative paper to 3 1/4 inch.
4. Glue the paper to each side of the block using all-purpose Mod Podge. Allow the glue to dry.
5. Sand edges and corners of paper with an emery board.
6. Paste the letters, numbers, and embellishments to the block using the same technique.
7. Sponge the edges of the paper with paint to give it texture and an antique look.
8. Paint another coat of Mod Podge all over the block to seal. Allow to dry.
ResourcesYou can purchase the decorative paper and letters, numbers, and embellishments at
Basic Grey Paper.
Special thanks to crafter
Ashley Steele for showing us this beautiful craft.

 have had this addiction, a
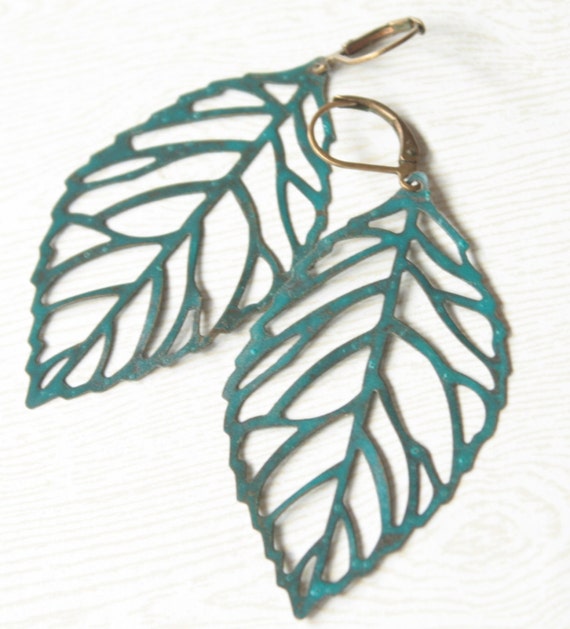
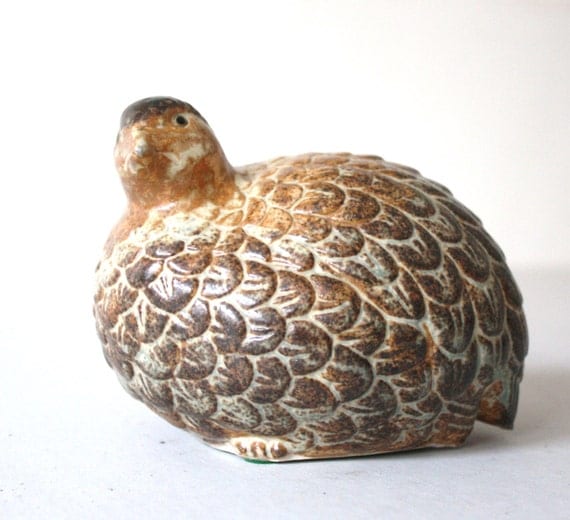
 nd the first step is being able to admit it. Im addicted to vintage. Its so fun searching high and low for stuff... here are a few finds that will be or are in my shop
 There is oh so much more and it will be in the shop very soon!