

One super fast and easy way to wrap up some last minute gifts is to dress up some boxes lying around in the pantry. Here I used some small stamps to create a pattern and used some embossing powder ( just cuz I love sparkly stuff.)
What you will need:

- Boxes from cereal, crackers, pasta,etc. It can be any size, as long it has no damage or grease spots.
- Stamps, stamping ink, glue (Stick is best, but I was out).
- Ribbon or twine depending on how you want to finish it off.
- Optional: Embossing powder and gun - its up to your tastes. You can just stamp it and leave it at that.


Now lets start. First you want to find the seam of the box

Place your finger -or letter opener, butter knife (non serrated side) between where the box is glued and gently separate them. You have to use caution at this part - the glue can be stubborn and you can rip the whole box apart if you're not careful...not to mention getting a paper cut!

Once that's done, open the box up and fold back all the creases, especially the small tab you just separated in the last step.

Now get out your stamps & ink and add your design.

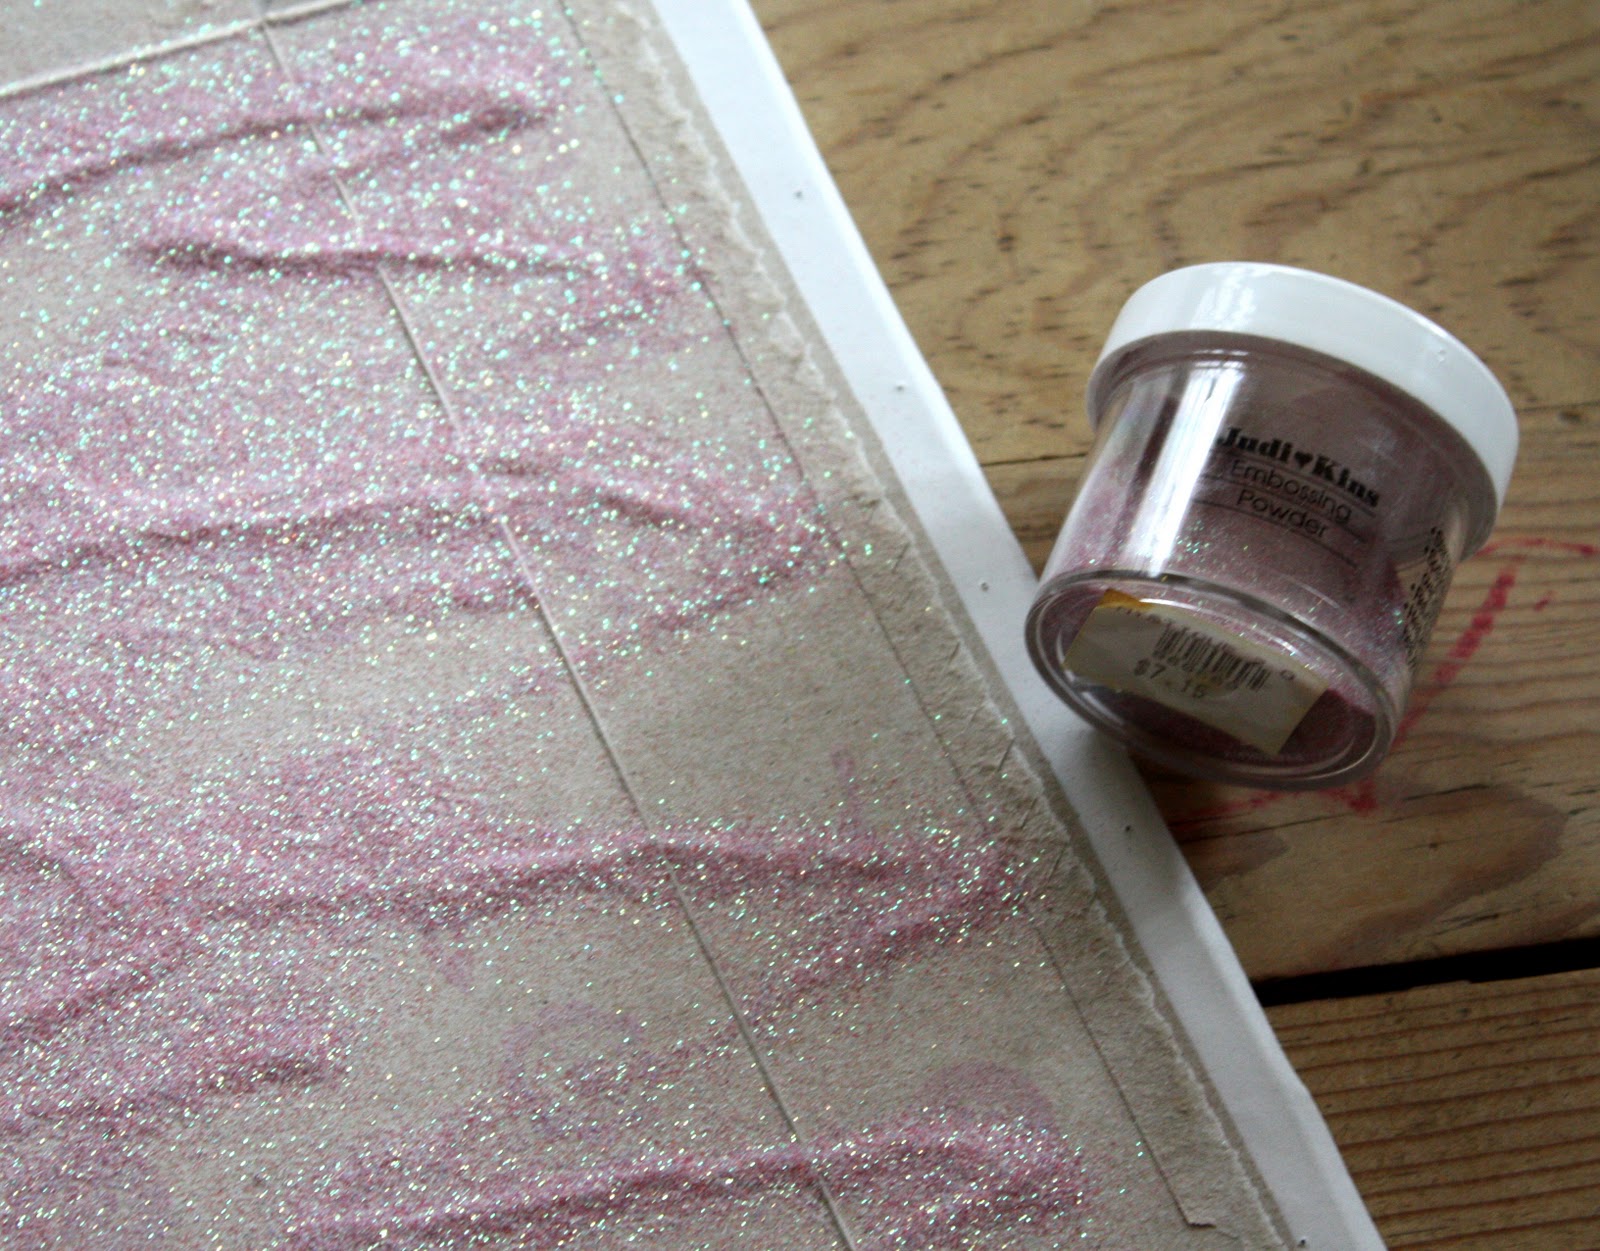
If adding embossing powder, do it as soon as you finish stamping, otherwise if you wait long enough for the ink to dry, the powder wont have anything to adhere to. I recommend placing a large sheet of paper underneath where you are working, that way you can shake off the excess powder onto it and funnel the powder back into the jar.
Get your embossing gun, turn it on and let it heat up. Then slowly move over each image and you will see the colors and texture shifting as it becomes a finished embossed image. Don't stop on an image and heat it because that can burn your box.

Once that's cool, get your glue and glue the seam. A glue stick really works best because you wont get any bubbling like you would with liquid glue.

Join the seams, pressing firmly. I suggest laying a heavy book on top once you finish gluing to ensure a good bond.

Now when its dry, close up one end/opening by either gluing it or taping it, whichever you prefer. Then add your ribbon or twine. Put a gift in there and its ready to go!


0 comments:
Post a Comment