
Welcome to the blog
A string of thoughts, DIY, thrift scores, geeking out, sewing, crafting, and so on....

Welcome to the blog
A string of thoughts, DIY, thrift scores, geeking out, sewing, crafting, and so on...
Welcome to the blog
A string of thoughts, DIY, thrift scores, geeking out, sewing, crafting, and so on...
Welcome to the blog
A string of thoughts, DIY, thrift scores, geeking out, sewing, crafting, and so on...
Welcome to the blog
A string of thoughts, DIY, thrift scores, geeking out, sewing, crafting, and so on...
Friday, November 26, 2010

Monday, November 22, 2010
Before & After: Transforming My Kitchen
Its amazing what a little paint can do. Here is Before. Ugly. Hideous. No me gusta. Also, notice the ancient refrigerator. It worked great but couldn't sustain a family of 5.


At this point we painted the walls and took all the doors off the cabinets with the intent of refinishing them. Yeah...we didn't end up doing that.

Here we have the south wall, crammed with junk.

NOW for the AFTER!
Ahh....Much better! We painted all the cabinets, windows and doors white and spray painted the hardware black. I think this entire transformation cost about $50-$75. Not bad, eh?


Now it looks like a real kitchen. I'm happy.
Thursday, November 18, 2010
Upcycled Gift Box Tutorial

One super fast and easy way to wrap up some last minute gifts is to dress up some boxes lying around in the pantry. Here I used some small stamps to create a pattern and used some embossing powder ( just cuz I love sparkly stuff.)
What you will need:

- Boxes from cereal, crackers, pasta,etc. It can be any size, as long it has no damage or grease spots.
- Stamps, stamping ink, glue (Stick is best, but I was out).
- Ribbon or twine depending on how you want to finish it off.
- Optional: Embossing powder and gun - its up to your tastes. You can just stamp it and leave it at that.


Now lets start. First you want to find the seam of the box

Place your finger -or letter opener, butter knife (non serrated side) between where the box is glued and gently separate them. You have to use caution at this part - the glue can be stubborn and you can rip the whole box apart if you're not careful...not to mention getting a paper cut!

Once that's done, open the box up and fold back all the creases, especially the small tab you just separated in the last step.

Now get out your stamps & ink and add your design.

If adding embossing powder, do it as soon as you finish stamping, otherwise if you wait long enough for the ink to dry, the powder wont have anything to adhere to. I recommend placing a large sheet of paper underneath where you are working, that way you can shake off the excess powder onto it and funnel the powder back into the jar.
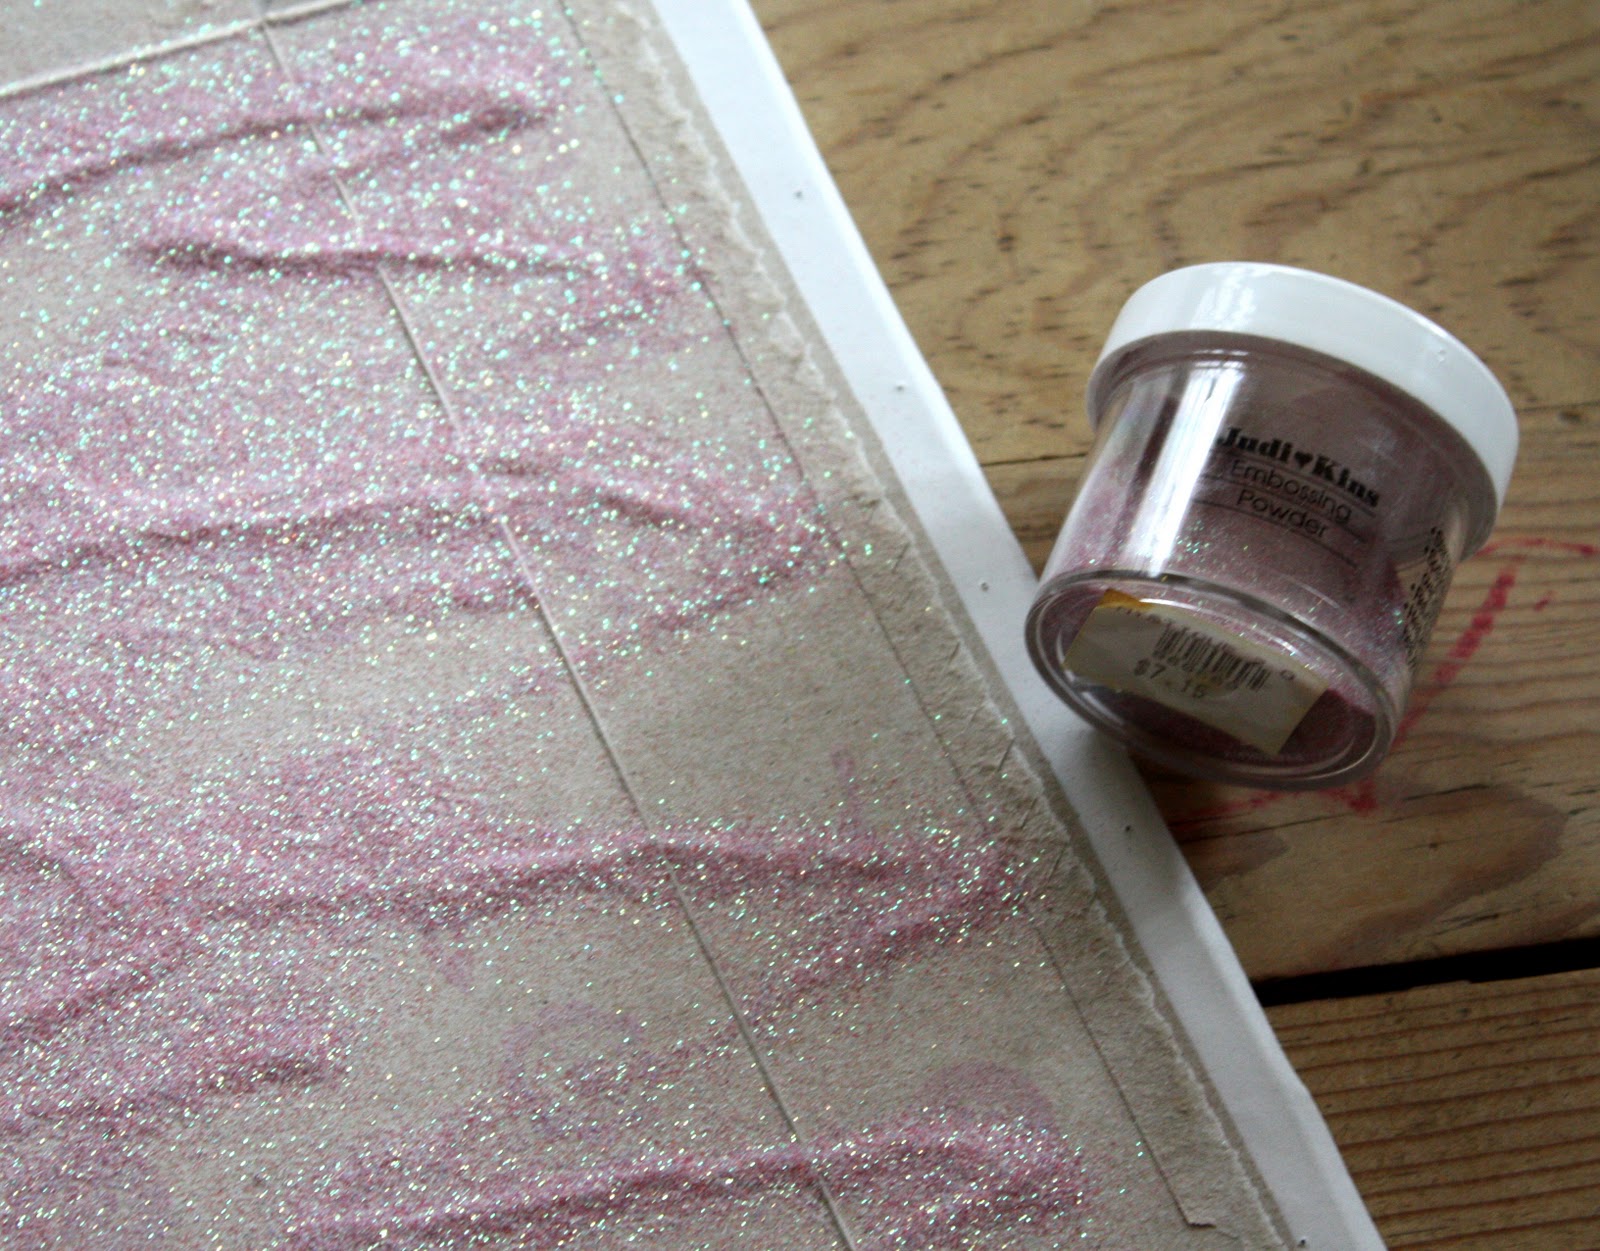
Get your embossing gun, turn it on and let it heat up. Then slowly move over each image and you will see the colors and texture shifting as it becomes a finished embossed image. Don't stop on an image and heat it because that can burn your box.

Once that's cool, get your glue and glue the seam. A glue stick really works best because you wont get any bubbling like you would with liquid glue.

Join the seams, pressing firmly. I suggest laying a heavy book on top once you finish gluing to ensure a good bond.

Now when its dry, close up one end/opening by either gluing it or taping it, whichever you prefer. Then add your ribbon or twine. Put a gift in there and its ready to go!

Wednesday, November 17, 2010


Tuesday, November 16, 2010
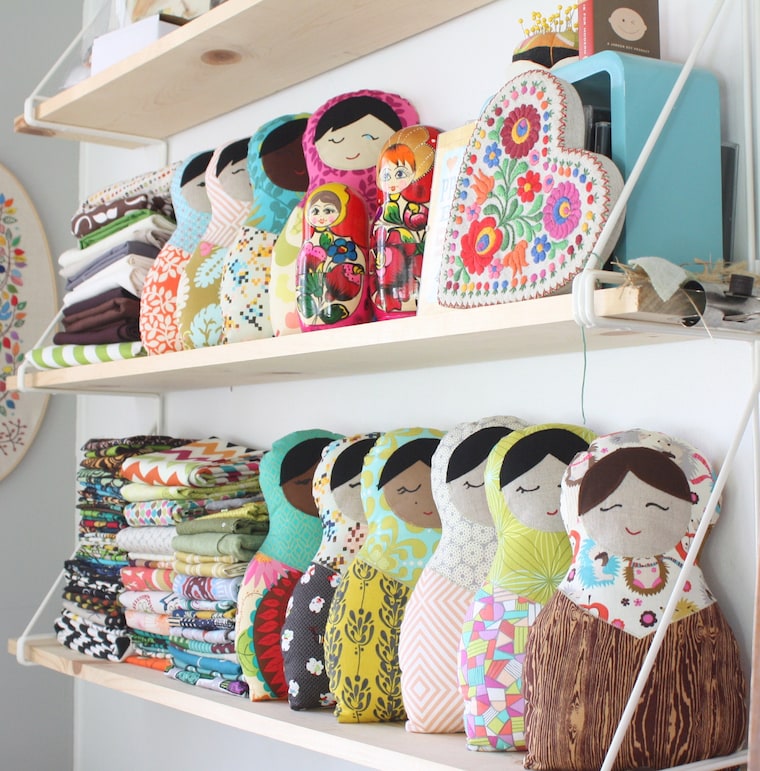
Decorating with Ebroidered Wall Art
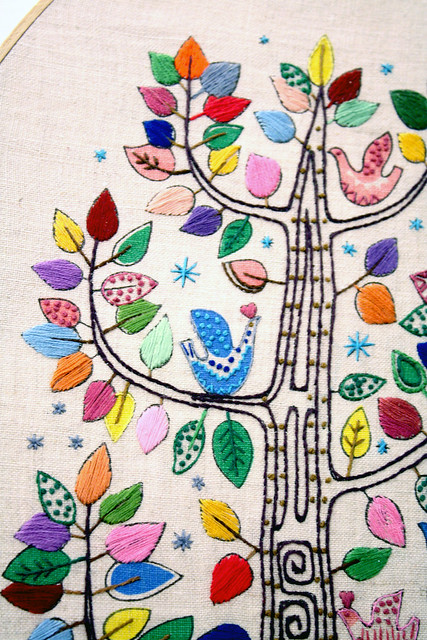
Some people may think of embroidery as "old lady art" to keep fingers and joints nimble. They are so wrong! It's quite a beautiful art form that I am currently enamored with. It does take skill - even when you have a pattern guide. I embroider the faces on my dolls and let me tell ya' it is not simple. It is but it isn't. I love the embroidered wall art especially, at the moment. There are tons of great patterns and embroidery art out there. I recently saw this one above in the pictures of an estate sale. All I saw was this folded on top of a dresser. Even though it was folded, I knew it beheld awesomeness and I told my husband " See that? Go there and get it for me!" And being so kind and doting, he did. Now...where to put it....
So here are a few ones I currently love and would love to possess if possible.
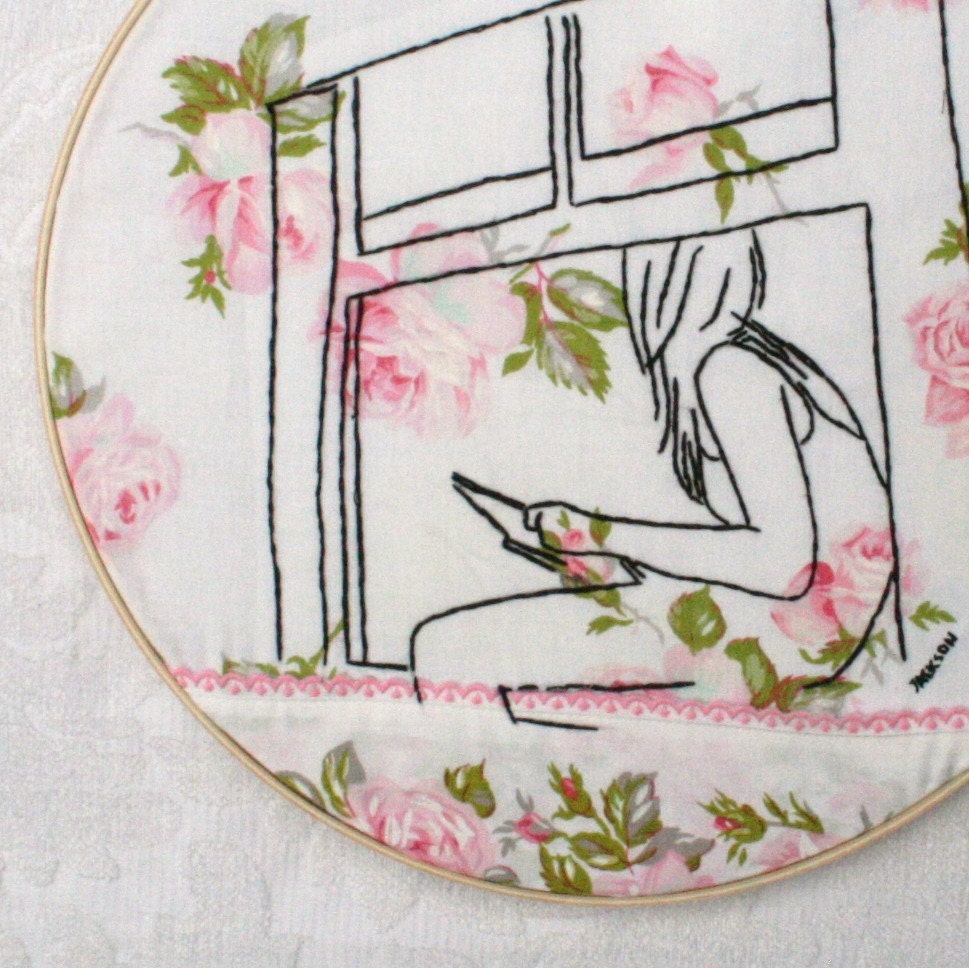 |
Pretty Girl in Window by luckyjacksonI love this style...very intriguing! |
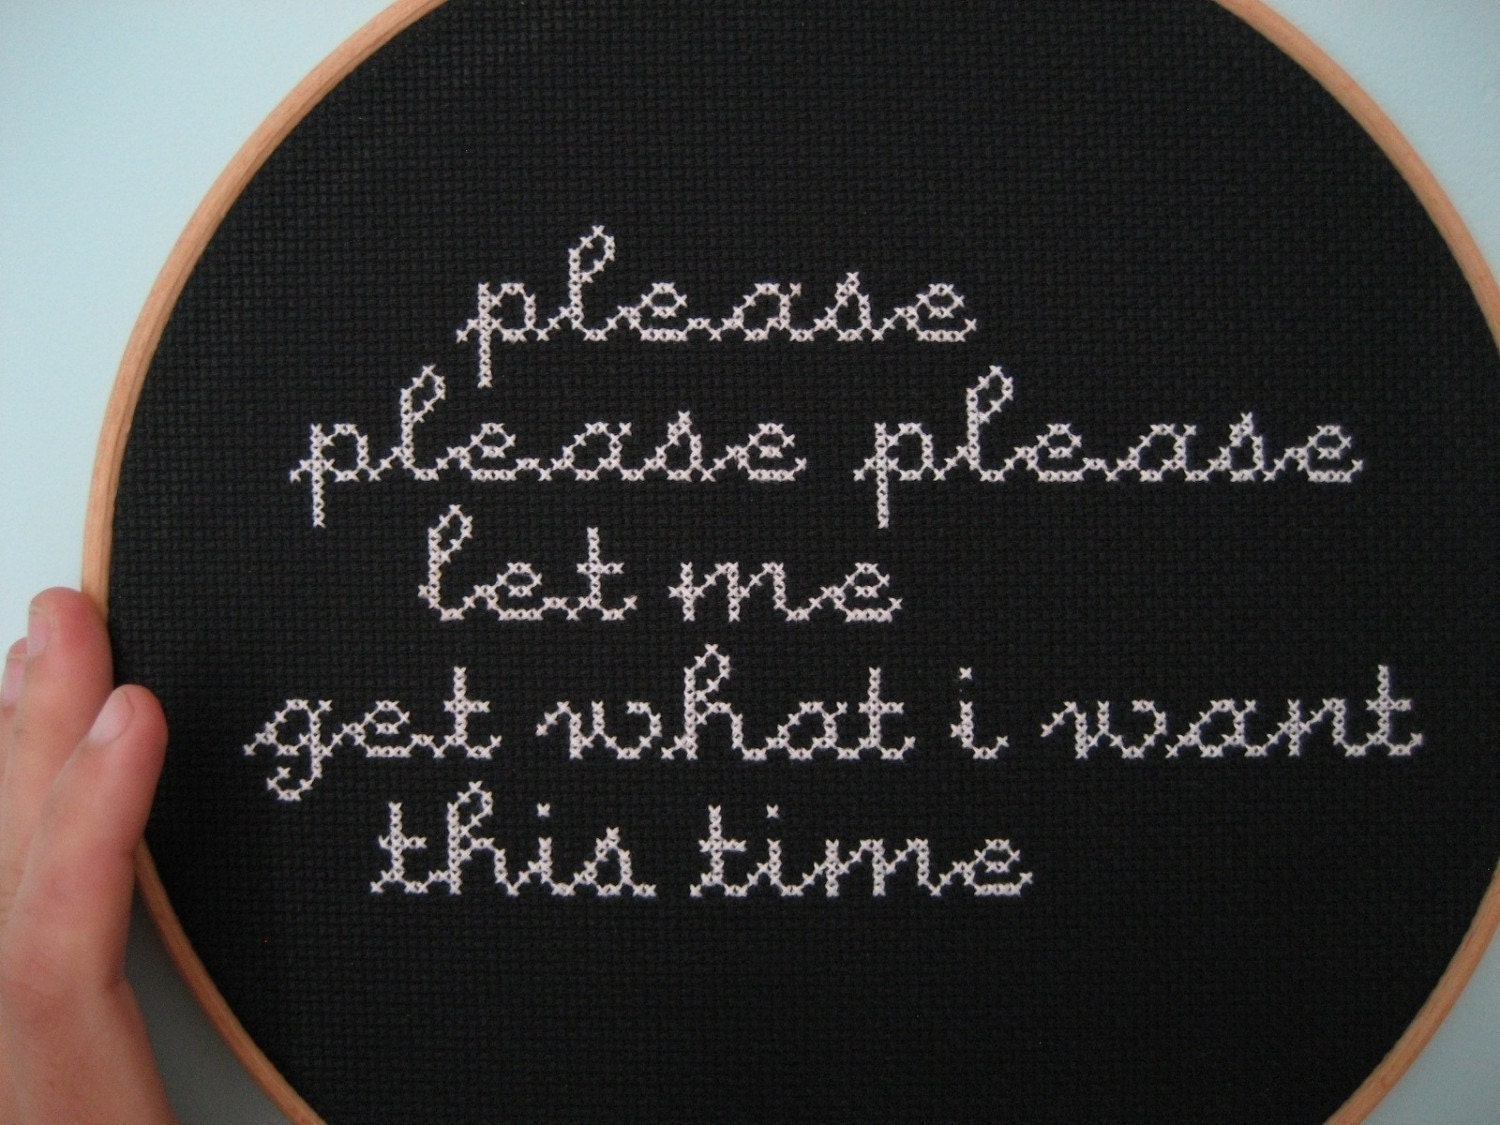 |
smiths please please please... cross-stitched by chezsucrechezI love the Smiths so naturally I had to include this even though it is cross-stitch. |
 |
Red Fox Vulpes Vulpes Embroidery by NaiomicayneI love foxes. Nuff said. Oiseau - bird embroidery by MariaDryden Ummmmmm...Adorable!The whole shop is adorable actually. |
HOLIDAY HANDMADE GIVEAWAY by Gifts Define!
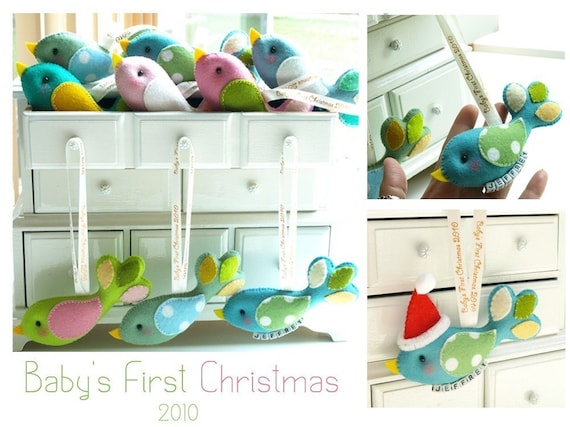
Not long ago, I stumbled upon a super cute site with super cute handmade birds, mobiles, party favors, personalized gifts and more. At first I saw the GiftsDefine blog and then their Etsy Shop and it was over. I have a soft spot for uber-cuteness...which I think evolved after having children; I would see things that we're so adorable and instantly want them even for a 1 year old who would just chew, gnaw and drool all over it. So now they are having a giveaway for 2 lucky people who will win their Baby's First Christmas 2010 keepsake you see above (no Santa hat, though). But you can also find them on Facebook where they give great updates of all that they got going on. You will not be disappointed!
Monday, November 15, 2010
Slightly Transforming the Dining Room.

Since we moved in, we've painted, repaired and are slowly decorating the place. Our dining room looks like a marriage between a viking's lodge with a 19th century apothecary. Not exactly my style but my husband has his ideas...We have a large old ornate dark wood table with mismatched viking-ish chairs, coupled with an Admiral from the 40's that we converted into a display / storage with a former built in cabinet on top.

All the wood is dark and it drains the potential life out of the space. Even with the light form the 3 large windows there is this darkness haunting that room.
SO my bright idea is let's add an accent wall. Something to take the dismal out and a bit of fun in. I looked for wallpaper on Ebay and lo and behold I found some that was perfect - to me anyway. Since I love the color in the room, I wanted to keep that. (we will eventually strike a good balance with the furnishings...one day)

I found some Hygge & West Daydream wallpaper for a steal...$40 a roll! That stuff is originally $105 a roll. So I'm pretty proud of myself. My plan is to cover this bland wall that doesn't have much going for it.

I'd like to get this covered and hopefully it will inspire us to change the rest of the decor in this room. Hopefully.
Tuesday, November 9, 2010
Giveaway Winner Annoucement
KRISTEN O. who entered via the Facebook fan page. Congrats to you, Kristen!


